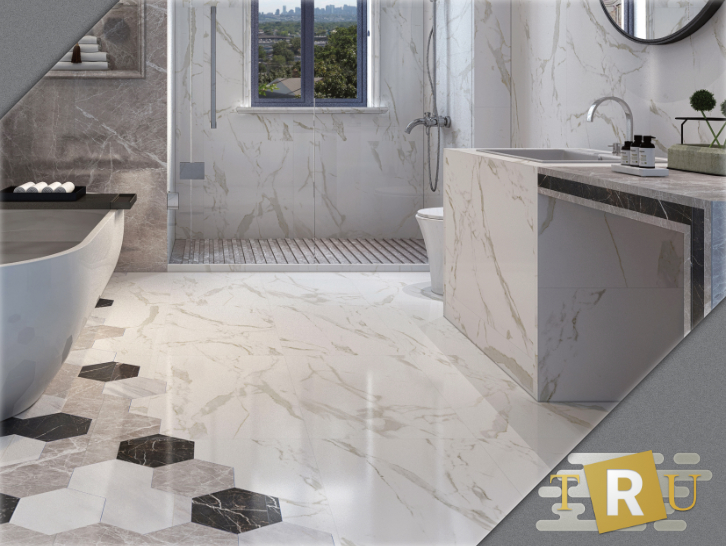
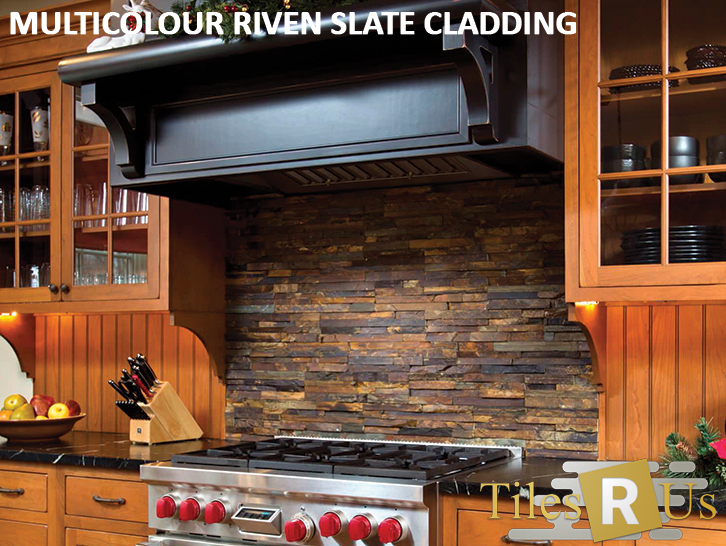
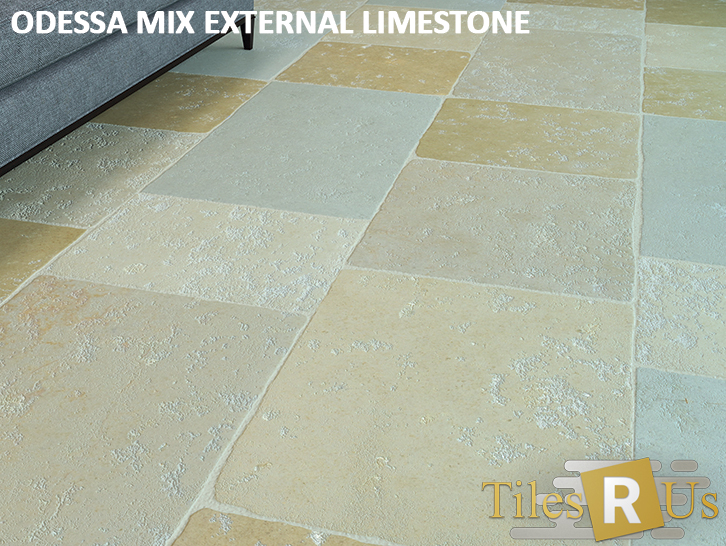
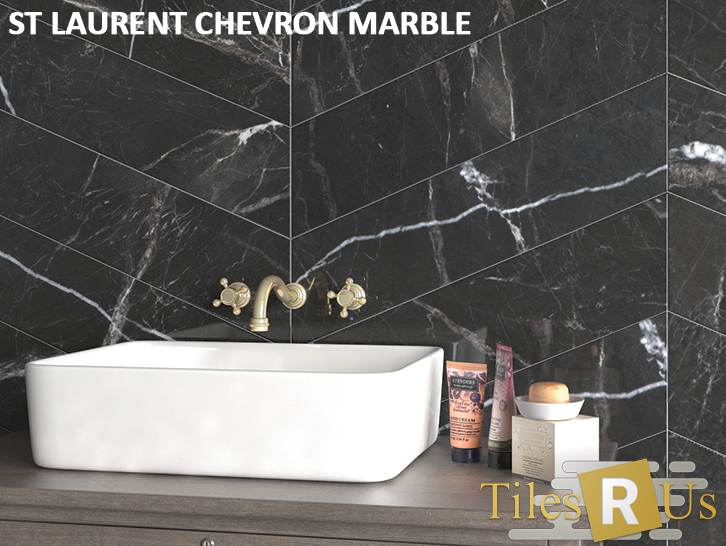
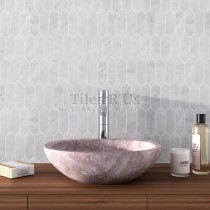
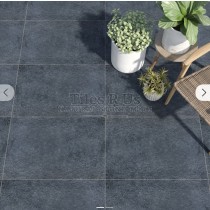
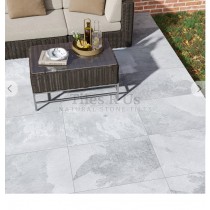
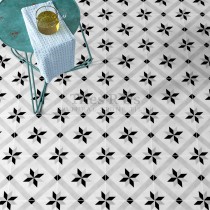
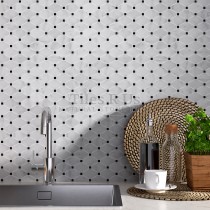
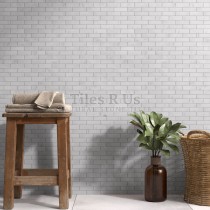
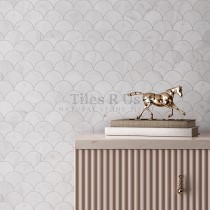
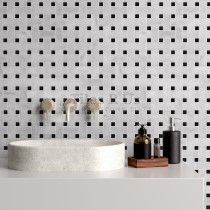
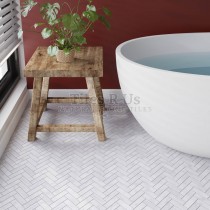
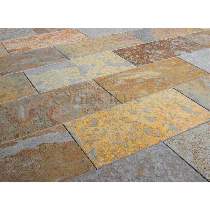
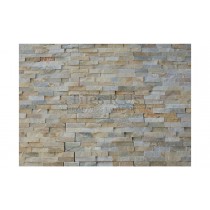
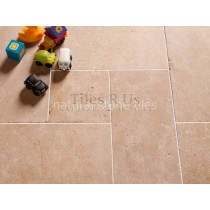
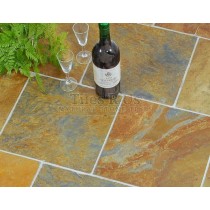
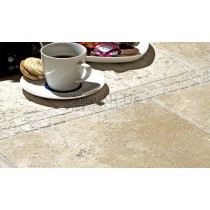
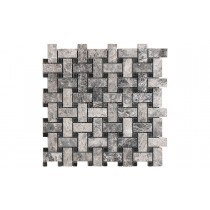
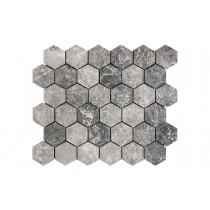
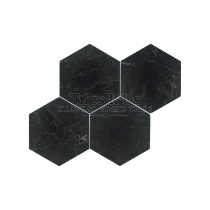
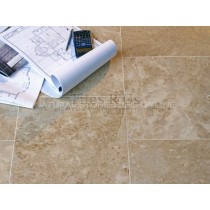
Natural Stone Tiles Online. Call us direct on 07926 768329
home guidelines delivery terms about us contact us
Natural Stone Tiles
Items:      Total:     


New Products

Brazilian Black - Honed

Price per m² box of tiles
No colour variation can be seen as it is extremely consistent in colour. Riven surface means surface is split naturally along parallel cleavage planes and thus clefts can be noticed; this provides rusticity that complements buildings with the likes of wood and brick. Supply is continuous however special sizes may or may not be produced.

Type: Slate
Finish: Textured surface, calibrated
Style & Cut: light to medium riven
Colour: black
Price per m² box of tiles
find out more

 
Best Sellers:
1. Woodland Green - Slate (Ref: 56rivt)
2. Imperial Black - Slate (Ref: 54rivt)
3. Olympus Crème - Polished 48x100 mosaic (Ref: 22polm48100)
4. Lydia Ivory - Honed & Filled (Ref: 16filt)
5. Siva Noce - Tumbled (Ref: 14tumt)
6. Siva Noce - Tumbled mosaic (Ref: 14tumm)

Cable Mat Underfloor Heating - key points for installation (comprehensive & easy to follow instructions included with each kit)

Contents of Mat Kit:-
- 3mm twin-core heating cable on mesh mat
- neoprene floor primer 750ml
- disposable roller for application of primer
- digital thermostat
- floor sensor
- guarantee certificate


Important Electrical Information.

Important Electrical Information.

The cable mats and cable kits are very simple to install BUT the electrical work should be carried out by a qualified electrician. All kits come complete with comprehensive installation instructions and helpful tips, as with all electrical work it should be carried out competently by qualified people.

Note:
- The system requires a mains voltage
230/240v
- you may need a local RCD if your main distribution board does not have this capability - check with your electrician.
- The system is intended for heating tiled or
stone floors and the mat output/wattage is
given on the box and label.
- The 'cold' cable connected to the mat is
double insulated and the first outer sheath
(coloured black) carries an earth screen (the
silver coloured braid). The cable also contains
a built in return meaning that the cable only
has to be connected to the thermostat from
one end. Inside the outer sheath there are 2
wires, these are the live and neutral.
- For larger areas, if two or more mats are
supplied, these can usually be connected
together at the thermostat or by using a
small blank fronted connection box.
- The system is suitable for installing on any
sub-floor which is sound and suitable for
tiling, in the main this will be concrete,
plywood or cement faced tile-backer boards.

How to install 1:

How to install 1:

Prepare the sub-floor making sure it is clean and free from grease, dirt or debris.
If you are installing on a bitumen base this must be either removed or covered - check with your builder. The most suitable sub-floors are: concrete, tile backer boards, existing tiles and water resistant timber.

How to install 2:

How to install 2:

If fixing tile-backer boards, do so in accordance with the separate instructions provided, using tile adhesive on a concrete sub-floor and galvanised screws with washers/fixings on timber sub-floors.


How to install 3:

How to install 3:

Prime the floor or the tile backer boards using the Neoprene primer contained in the kit.
If installing over a large area or on an absorbent surface the primer may need to be diluted with
water to a maximum of two parts water to one part primer. Once primed leave to dry (typically
1-3 hours) and avoid foot traffic over this area.
The purpose of priming is to promote greater adhesion of the mat and reduce the amount of moisture absorbed into the sub-floor.
If installing directly onto existing tiles do not use
the primer, instead ensure the floor surface is clean, dry and free from debris.


How to install 4:

How to install 4:

Test the resistance of the cable on the mat prior to installing and ensure that the reading is as per manufactures design reading. This can be found on the silver label on the packaging or
printed on the PVC sheath (± 10%) Make a note of the reading.
Do not tile over the cable without first testing it.


How to install 5:

How to install 5:

Plan the mat layout - open it out and lay it down to see where to cut the fabric so you can 'shape' the mat to suit the room layout.
This is a very important step and MUST be done correctly to ensure all the mat is used up. Once it has been unrolled and cut the mat cannot be returned.

How to install 6:

How to install 6:

Once you are happy with your layout you can start laying. Comprehensive instructions are included with your cable or mat kit.
From the start point roll out the mat. When you reach the opposite corner of the room cut through the mesh.
DO NOT CUT THE CABLE. Turn the mat through 180 degrees and roll back the other way.

How to install 7:

How to install 7:

If you are using two or more mats, try to finish off at the opposite wall so that the second mat is easier to lay (see diagram):-

How to install 8:

How to install 8:

the second mat (mat 2) continues from the ending point of the first mat (mat 1) and ends at the finishing point of the room - it's as easy as that.

How to install - Do's & Dont's:

DO – Read through the instructions carefully before beginning work
DO – Use flexible adhesives and grouts
DO – Test the cable mat and floor probe BEFORE tiling See steps 4, 8, 9 and 11(in the instructions)
DO – Be careful not to damage or dislodge the cable during tiling
DO – Try to protect the cable mat with cardboard or carpet during tiling
DO – Try to protect the cable with cardboard or carpet during tiling
DO – Wait at least 7 days before turning on the system
DO – Read the separate installation and operating instructions for the thermostat
DO – Ensure that the joint between the Cold Cable and Heater Cable is beneath the
final floor covering.
DON’T – Attempt to cut the yellow heater cable at any point
DON’T – Allow the wires to cross or touch
DON’T – Allow excessive foot traffic over the wire before tiling
DON’T – Cut tiles directly over the cable
DON’T – Place tools or stacks of tiles on top of the cable